Step-by-Step Guide to Installing CCTV in Commercial Properties
Table Of Contents
Installing the Cameras
Careful planning is essential before mounting the cameras. Identify key areas for surveillance based on the property's layout and security needs. High-risk zones often include entrances, exits, and blind spots. Once these areas are determined, select appropriate camera types, such as indoor or outdoor models, ensuring they suit environmental conditions. Mark the exact positions where each camera will be installed, considering both visibility and accessibility for future maintenance.
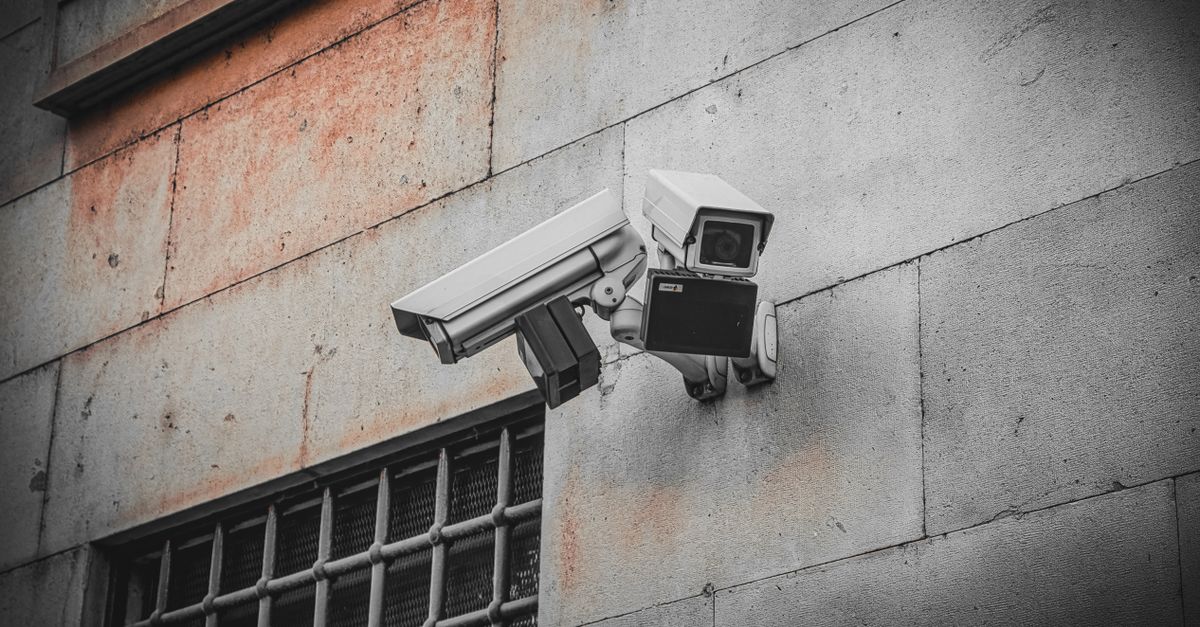
When it comes to mounting, use sturdy brackets to secure the cameras. For outdoor installations, ensure the cameras are weatherproof and positioned to avoid sunlight glare. Adjust angles for the best field of view, ensuring all critical areas are covered without obstructions. After securing the cameras to their brackets, double-check the stability of the mounts before proceeding to the next installation steps.
Step-by-Step Guide to Mounting and Positioning
Begin by identifying key areas within your commercial property that require surveillance. This includes entrances, exits, and hotspots where valuable equipment or inventory is stored. Ensure you take into account potential blind spots created by walls or obstructions. Each camera should be positioned to offer the maximum field of view while minimising interference from environmental factors such as glare or harsh lighting. The height and angle of placement can greatly affect the effectiveness of the CCTV system.
Once ideal locations are determined, securely mount the cameras using appropriate hardware. Use brackets or mounts specifically designed for the type of camera being installed to maintain stability. If installing on walls, check for structural integrity and ensure you use wall anchors if necessary. It’s also essential to test the camera's view during the installation process, adjusting the angle as needed before finalising the mount. Regular checks of placement can help maintain optimal coverage over time.
Connecting to Power and Networking
Before setting up the CCTV system, ensuring that each camera has a reliable power source is crucial. This typically involves connecting the cameras to an existing power supply or using Power over Ethernet (PoE) if your cameras support it. PoE simplifies installation by eliminating the need for separate power cables, thus reducing clutter. Make sure to use appropriate gauge cables to support the power load and to avoid any voltage drop that could affect camera performance.
Networking the cameras is the next vital step. Each camera will need to connect to your local network, either via a wired Ethernet connection or wirelessly, depending on the camera model. For wired connections, ensure that the network cables are of high quality to minimise interference and loss of signal. If using wireless cameras, position the router to ensure maximum coverage and consider implementing a secure password to protect the network from unauthorized access. Properly configuring the network will facilitate the smooth transmission of video data to your monitoring system.
Setting Up Electrical Connections and Data Links
Before proceeding with the installation of CCTV cameras, ensure that all electrical components meet local regulations and safety standards. Begin by identifying the most suitable power source for each camera. It is essential to use high-quality cables that can support the distance required for your setup, considering both power and data transmission. For IP cameras, a Power over Ethernet (PoE) connection can simplify the wiring process, allowing power and data to be transmitted over a single cable.
Once the power options are confirmed, establish the network connections. This typically involves connecting each camera to a network switch or router using Ethernet cables. Make sure to configure the network settings correctly, including assigning static IP addresses if necessary. Testing the connections is crucial before finalising the installation to ensure reliability and performance. An uninterrupted power supply (UPS) is also advisable for maintaining system functionality during power outages.
Configuring the CCTV System
Once the hardware is successfully installed and connected, attention turns to the software configurations essential for optimal performance. Begin by accessing the CCTV system's main interface, typically through a dedicated app or web portal. It's important to set up user accounts for those who will manage the system, ensuring proper permissions are established for different levels of access. This will safeguard the system while allowing relevant personnel to monitor feeds and make adjustments as needed.
Next, adjust the camera settings based on the specific needs of your commercial space. Set the resolution to an appropriate level, balancing quality against storage capacity. Configure motion detection settings to reduce unnecessary alerts and optimise capture efficiency. Additionally, consider setting up recording schedules that align with business hours to conserve bandwidth and storage resources. Fine-tuning these settings maximises surveillance efficacy and ensures each camera operates to its full potential.
Adjusting Settings for Optimal Performance
Taking the time to fine-tune your CCTV settings can significantly enhance the system's effectiveness. Start by adjusting the image quality settings, including resolution, brightness, contrast, and colour balance. Finding the right balance will ensure clear images under various lighting conditions, helping to improve the identification of individuals and objects captured on camera. Make use of advanced features such as wide dynamic range (WDR) to manage varying light levels in your environment.
After the image settings, focus on motion detection capabilities. Configuring motion detection zones can prevent unwanted alerts from areas with minimal activity, like busy streets or trees swaying in the wind. Establishing appropriate thresholds for sensitivity will help you capture real security events without overwhelming notifications. Regularly reviewing and updating these configurations according to changes in the environment can further optimise performance, ensuring the system remains effective over time.
FAQS
What are the essential steps to install CCTV cameras in a commercial property?
The essential steps include selecting appropriate camera locations, mounting the cameras securely, connecting them to power sources and networks, and configuring the CCTV system for optimal performance.
How do I determine the best locations to install CCTV cameras?
To determine the best locations, consider areas that require surveillance such as entrances, exits, parking lots, and blind spots. Ensure the cameras have a clear line of sight and are positioned to avoid obstructions.
What kind of power supply is needed for CCTV cameras?
CCTV cameras typically require a standard electrical power supply, often using a 12V DC adapter. However, if using PoE (Power over Ethernet) cameras, they can draw power through the Ethernet cable, negating the need for separate power sources.
How can I ensure my CCTV system is connected to the network?
To connect your CCTV system to the network, use Ethernet cables for wired systems or ensure that wireless cameras are linked to your Wi-Fi network. Verify connections using the camera's software or app.
What adjustments can I make to optimise the performance of my CCTV system?
To optimise performance, adjust the camera angles for maximum coverage, configure the resolution settings for clarity, set motion detection sensitivity, and schedule recording times to reduce unnecessary data storage.
Related Links
The Importance of Professional Installation for Commercial CCTV SystemsEssential Features to Consider in Commercial CCTV Installations
Common Mistakes to Avoid When Installing CCTV in Commercial Settings
Customising CCTV Solutions for Different Types of Commercial Spaces
How to Assess CCTV Installation Needs for Retail Businesses