Step-by-Step Guide to Installing Residential CCTV Systems
Table Of Contents
Mounting the Cameras
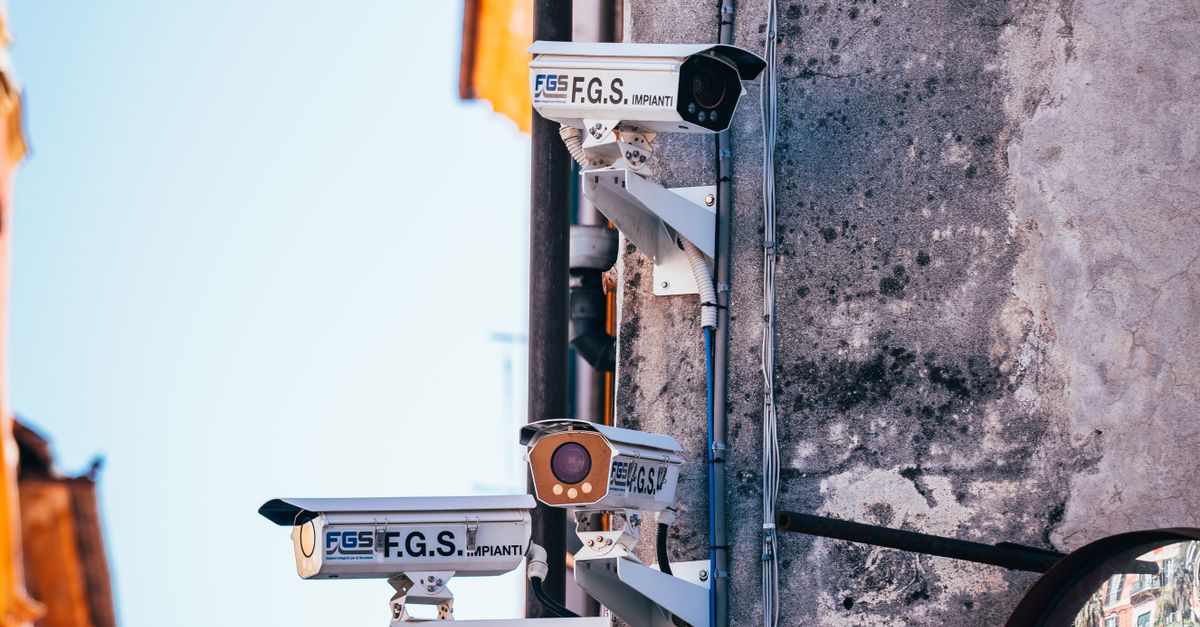
Choosing the right location for camera installation is crucial for effective surveillance. Mount cameras at strategic points that cover vulnerable areas such as entrances, driveways, and windows. Avoid placing cameras too high or too low. Ideally, the lens should be positioned between 2.5 to 3 metres from the ground for optimal viewing angles.
Use appropriate mounting hardware for stability and longevity. Ensure the camera is securely fixed to the surface to prevent movement from wind or vibrations. Angling the camera slightly downward can enhance coverage while reducing blind spots. Regularly check for obstructions that may hinder the camera's field of view, such as trees or large structures.
Best Practices for Camera Placement
Placing cameras judiciously can significantly enhance security coverage. Start by identifying vulnerable areas around your property. Entry points such as doors and windows require close attention. High-traffic locations, like driveways and main walkways should also be prioritised. Ensure that cameras capture clear views without obstructions from branches, fences, or other structures.
Consider the height and angle of the cameras as well. Mounting them at a height between two to three metres can deter tampering while maintaining visibility. Opt for a slight downward angle to capture facial features and other identifying details, which can be critical during incidents. It’s also wise to avoid placing cameras directly under bright lights, as glare may hinder their performance during night-time.
Connecting the CCTV System
Connecting different components of the CCTV system is a critical step that ensures seamless functionality. Begin by determining the layout of your cameras and their proximity to the recording device. Run the necessary cables from each camera to the Digital Video Recorder (DVR) or Network Video Recorder (NVR). For systems that use coaxial cables, ensure that BNC connectors are securely crimped at the ends. If your system relies on Ethernet cables, opt for high-quality Cat6 cables to maintain a strong connection and accommodate high-resolution video feeds.
After the cameras are wired to the DVR/NVR, focus on the power supply. Ensure each camera is connected to a power source, either through power adapters or via Power over Ethernet (PoE) switches. For PoE systems, the PoE switch simplifies the installation by providing both data and power through a single cable. Once all connections are established, double-check for any loose wires or incorrect links. Power on the system and watch for indicators that confirm a successful connection between the cameras, recorder, and network if applicable.
Wiring and Networking Essentials
When installing a CCTV system, proper wiring plays a crucial role in ensuring effective communication between the cameras and recording devices. Use high-quality coaxial or Ethernet cables depending on whether your cameras are analog or IP-based. Carefully measure cable lengths to avoid excess slack, which can lead to interference. Ensure that your cables are routed securely to avoid any trip hazards or damage. Consider using conduit to protect the wires from environmental factors and potential tampering.
Networking is equally important for systems that rely on internet connectivity. For IP cameras, a solid router with sufficient bandwidth will facilitate smooth video streaming and remote access. It is wise to configure a dedicated network for your CCTV system to enhance security and improve performance. Regularly updating your network’s firmware and employing strong passwords will help protect against unauthorised access, keeping your surveillance data secure. Set aside time to test each connection to ensure that everything is working before finalising the installation.
Setting Up the Recording Device
The recording device is crucial for storing footage captured by your CCTV cameras. Start by connecting the device to a power source and your display monitor using the appropriate cables. Ensure that the device has a hard drive installed for efficient data storage. If you are using a Digital Video Recorder (DVR) or Network Video Recorder (NVR), refer to the manufacturer's manual for detailed wiring instructions specific to your model.
Once the device is powered and connected, configure the settings to suit your surveillance needs. This includes setting the resolution of the recordings, the frame rate, and scheduling recording times. You may also want to adjust motion detection settings if your system supports them. It is advisable to create a regular backup routine to prevent data loss and ensure that recorded footage is easily accessible.
Configuring Your DVR/NVR
To start configuring your DVR or NVR, it's essential to connect it to your monitor and power source. Once powered on, navigate through the setup menu using the provided remote or on-screen interface. Most devices will prompt you to set up basic preferences, such as language, date and time, and network settings. Ensure that you connect the system to your home network if you plan to access it remotely.
After basic settings are in place, focus on the camera configuration. Assign each camera to a specific channel, allowing for easier management during playback. Adjust settings like recording resolution and frame rate to optimise storage and video quality. Consider enabling motion detection and configuring alerts for real-time notifications regarding activities captured by your cameras.
FAQS
What are the best practices for placing CCTV cameras in a residential setting?
Best practices for camera placement include mounting cameras at least 2.5 metres high, ensuring a clear view of entry points, avoiding obstructions like trees or walls, and considering lighting conditions to avoid glare and shadows.
How do I connect my CCTV system to the power supply?
To connect your CCTV system to the power supply, ensure that all cameras are positioned within reach of power outlets or use PoE (Power over Ethernet) switches if you're using IP cameras. Follow the manufacturer's guidelines for wiring to avoid electrical hazards.
What type of recording device should I use for my CCTV system?
You can use a Digital Video Recorder (DVR) for analog cameras or a Network Video Recorder (NVR) for IP cameras. Consider your storage needs, the number of cameras, and any additional features such as remote access when choosing the right device.
How do I configure my DVR or NVR for optimal recording?
To configure your DVR or NVR, follow these steps: connect it to your cameras, set the recording resolution and frame rate, configure motion detection settings, and set up remote access to monitor your system from anywhere.
Can I install a CCTV system myself or should I hire a professional?
While many homeowners can install a CCTV system themselves by following a step-by-step guide, hiring a professional can ensure proper installation, optimal camera placement, and configuration tailored to your specific security needs.
Related Links
How to Ensure Optimal CCTV Camera Placement in Your ResidenceChoosing the Right CCTV System for Your Gold Coast Home
Identifying the Best Locations for CCTV Cameras Around Your Property
Post-Installation Tips for Maintaining Your Home CCTV Setup
Customising Your Home Surveillance System for Maximum Security
Reviewing the Best CCTV Options for Gold Coast Homes
Understanding the Costs Involved in Residential CCTV Installation
Benefits of Professional CCTV Installation for Gold Coast Residents